User Administration
This chapter will explain how the permissions, access, roles and users are set up.
The user model
Section titled “The user model”Deem Insight allows you to set up users within and outside your organization. This functionality is related to the Account setup, and the contacts related to the accounts.
For internal users, the users must be defined as contacts to the account representing the internal organization, external users must be defined as contacts to the correct account representing this external organization.
Follow these steps to set up a new user:
- Find the correct account, in the accounts list

- Open the contacts tab, and create a new contact
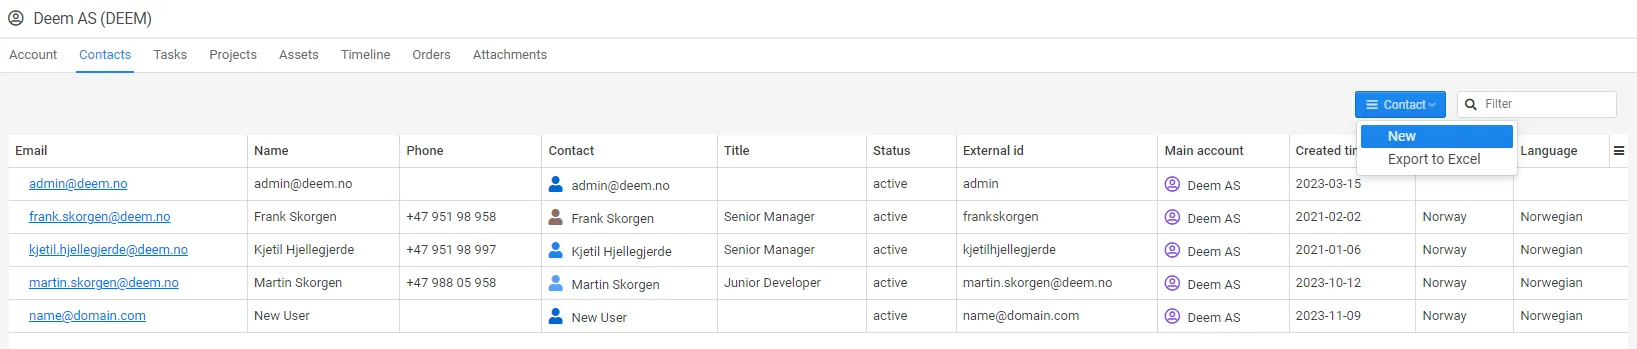
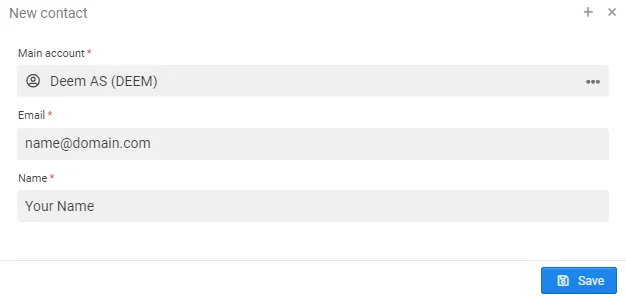
- Register the contact information. The email address is the contact key. The email address or the external id on the user will be the login name.
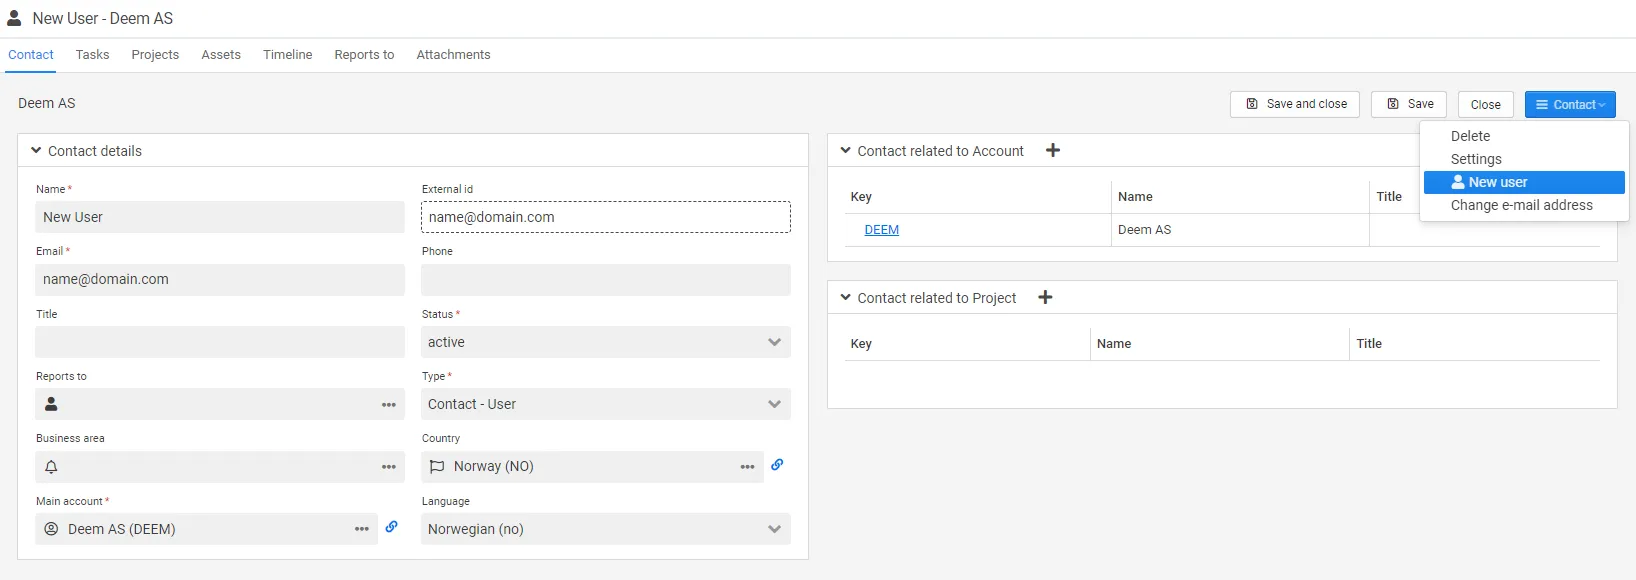
- When the contact is created, use the option new user in the contact menu to create a new user.
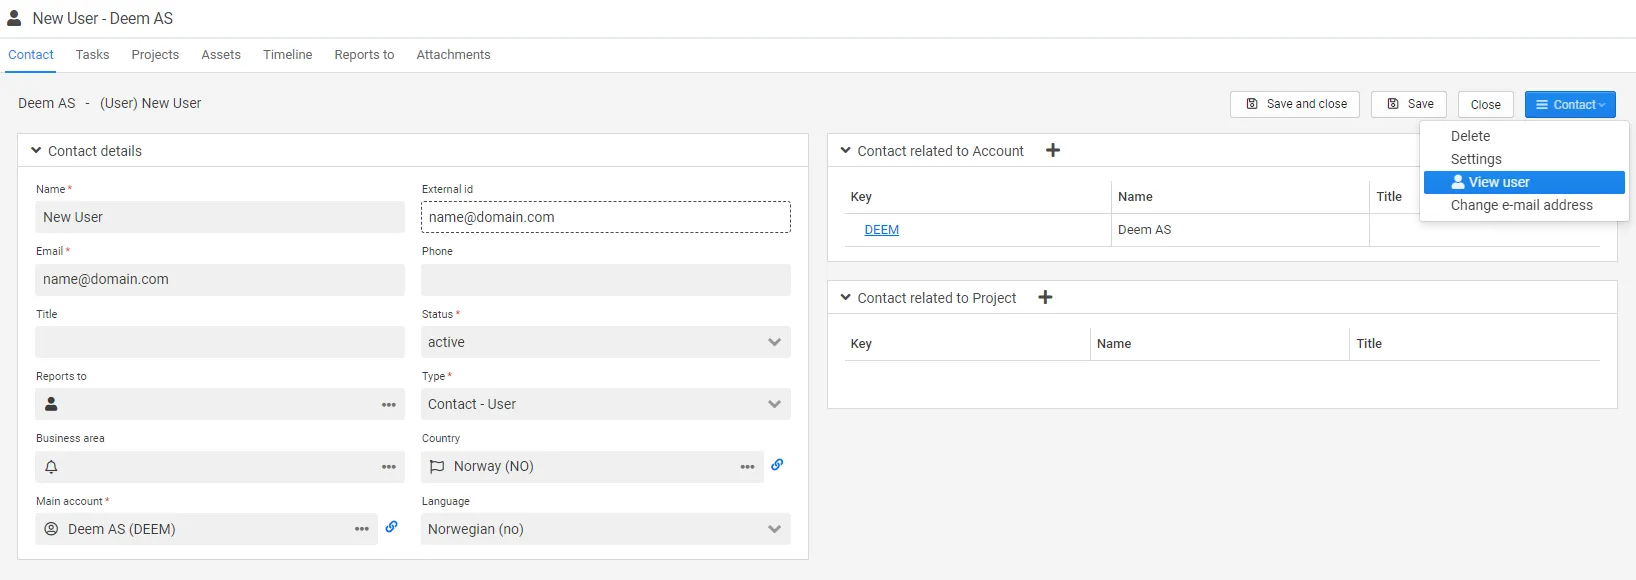
- To edit/view the user, select the View User option in the contact menu.
The next chapters will explain how to set up roles and access for the user.
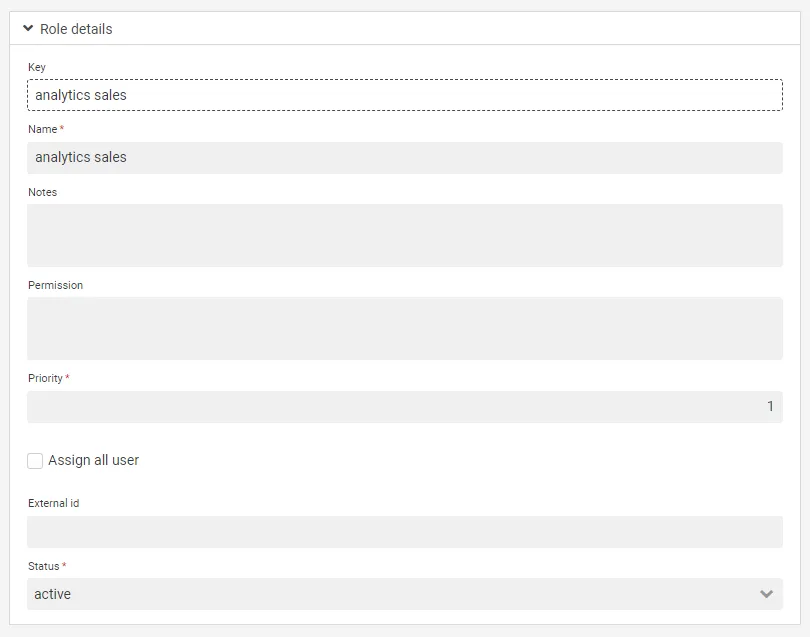
A role is used to define access to menus, access to reports, access to data in reports, access to system objects, and access to report- and user administration.
Roles determine whether users has access to a given report, and roles can also be used to differentiate how a given report is displayed for a user. This is useful when for instance an employee should only see information regarding himself and a leader should see information regarding all employees in a department.
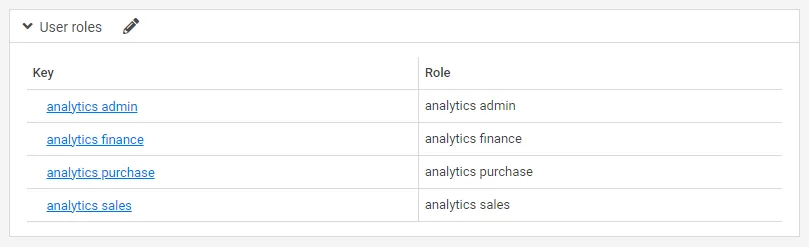
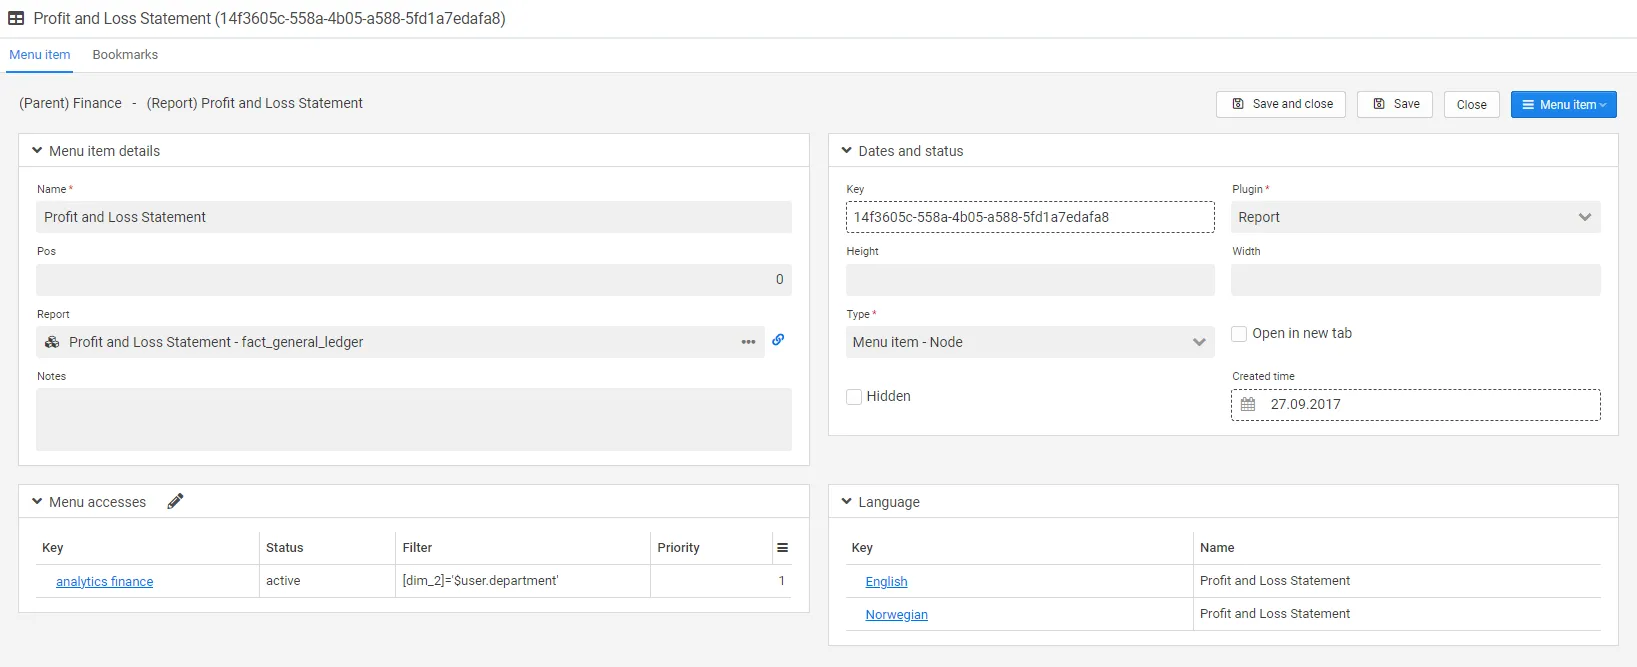
As stated above, roles can be used to differentiate the data different users can see in the reports. To do this a script needs to be set on the report. See image roles on report. For the user in image user role who is assigned the role Analytics Finance, the report will be filtered on [dim_2] $user.department. The user will not have access to data regarding other departments (dim_2).
User related to business unit
Section titled “User related to business unit”Access level in business unit level on e.g. division, facility, warehouse can be set up on the user related to business unit tab. This functionality filters the report according to how it is configured. Business units and record types needs to be set up in the admin menu, prior to setting it up on the user.

Role permissions
Section titled “Role permissions”Role settings can be set to give roles permissions to e.g system objects and CLM parts of Deem Insight (see full list of available role permissions further down).
Deem Insight is set up with some standard roles, e.g. admin, issue admin and clm with preset access settings. To customize roles please contact your consultant.
The permission settings are built up by first stating the object and then access rights.
| Field | Description |
|---|---|
*:*:* | Full access to all objects. The stars represents; object:access level:object element. |
menu:*:home | Full access to menu-home. |
contentbookmark:*:owner | Full access to own bookmarks. |
article:read:* | Read access to articles on the home page. |
todo:read,create:* | Read and create access to all tasks. |
Examples:
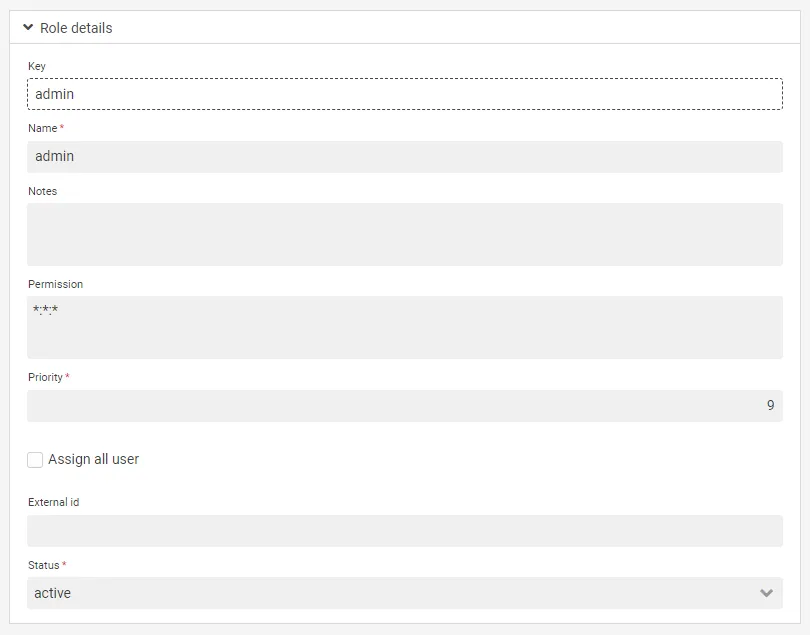
The admin role gives access to all elements in Deem Insight. We recommend very limited use of this role and urge you to rather use other roles to give access to parts of the system.
All users role:
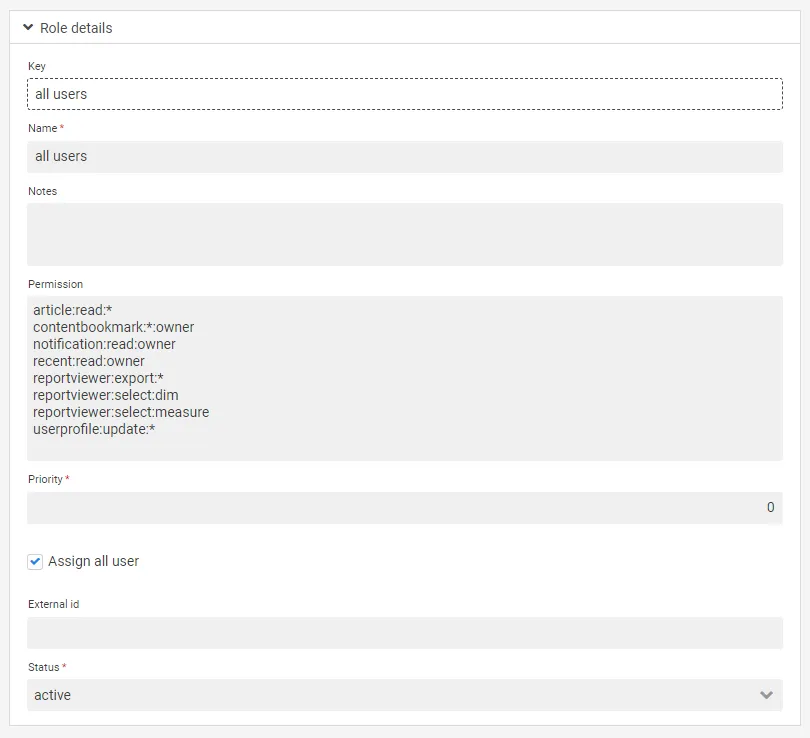
Roles are also set up to give access to reports. These roles seldom have permission to access system objects (the permission box is blank).
Available role permissions:
Section titled “Available role permissions:”account:*:*accountcontact:*:*activity:*:*article:*:*asset:*:*attachment:*:*baseform:*:*baseformgroup:*:*baseformproperty:*:*baselink:*:*basestatus:*:*basetransform:*:*basetransformfrom:*:*browselist:*:*businessarea:*:*businessprocess:*:*businessunit:*:*businessunituser:*:*checklist:*:*checklistline:*:*checkpointqos:*:*checkpointquery:*:*comment:*:*config:*:*contact:*:*contentaccess:*:*contentbookmark:*:*contentmenu:*:*contentnode:*:*country:*:*dataaggregation:*:*dataconnection:*:*dataobject:*:*datasource:*:*directorytenant:*:*email:*:*fieldlog:*:*issue:*:*jobentry:*:*jobstep:*:*jobtrigger:*:*language:*:*milestone:*:*notification:*:*opportunity:*:*order:*:*orderline:*:*post:*:*product:*:*productgroup:*:*productversion:*:*project:*:*projectcontact:*:*recent:*:*recordtype:*:*recordtypeaccess:*:*recordtypenode:*:*report:*:*reportobject:*:*role:*:*scorerule:*:*todopriority:*:*todoresolution:*:*user:*:*userofficeprofile:*:*userpasswordprofile:*:*userrole:*:*wikibook:*:*wikipage:*:*
Report Access
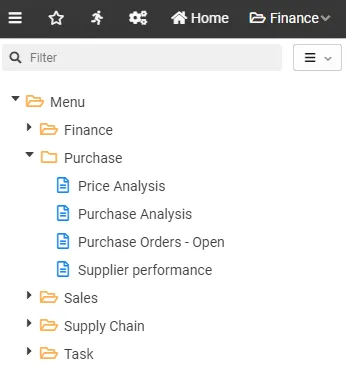
Section titled “Report Access”Reports can be accessed through either menu folders:
or browse all reports:
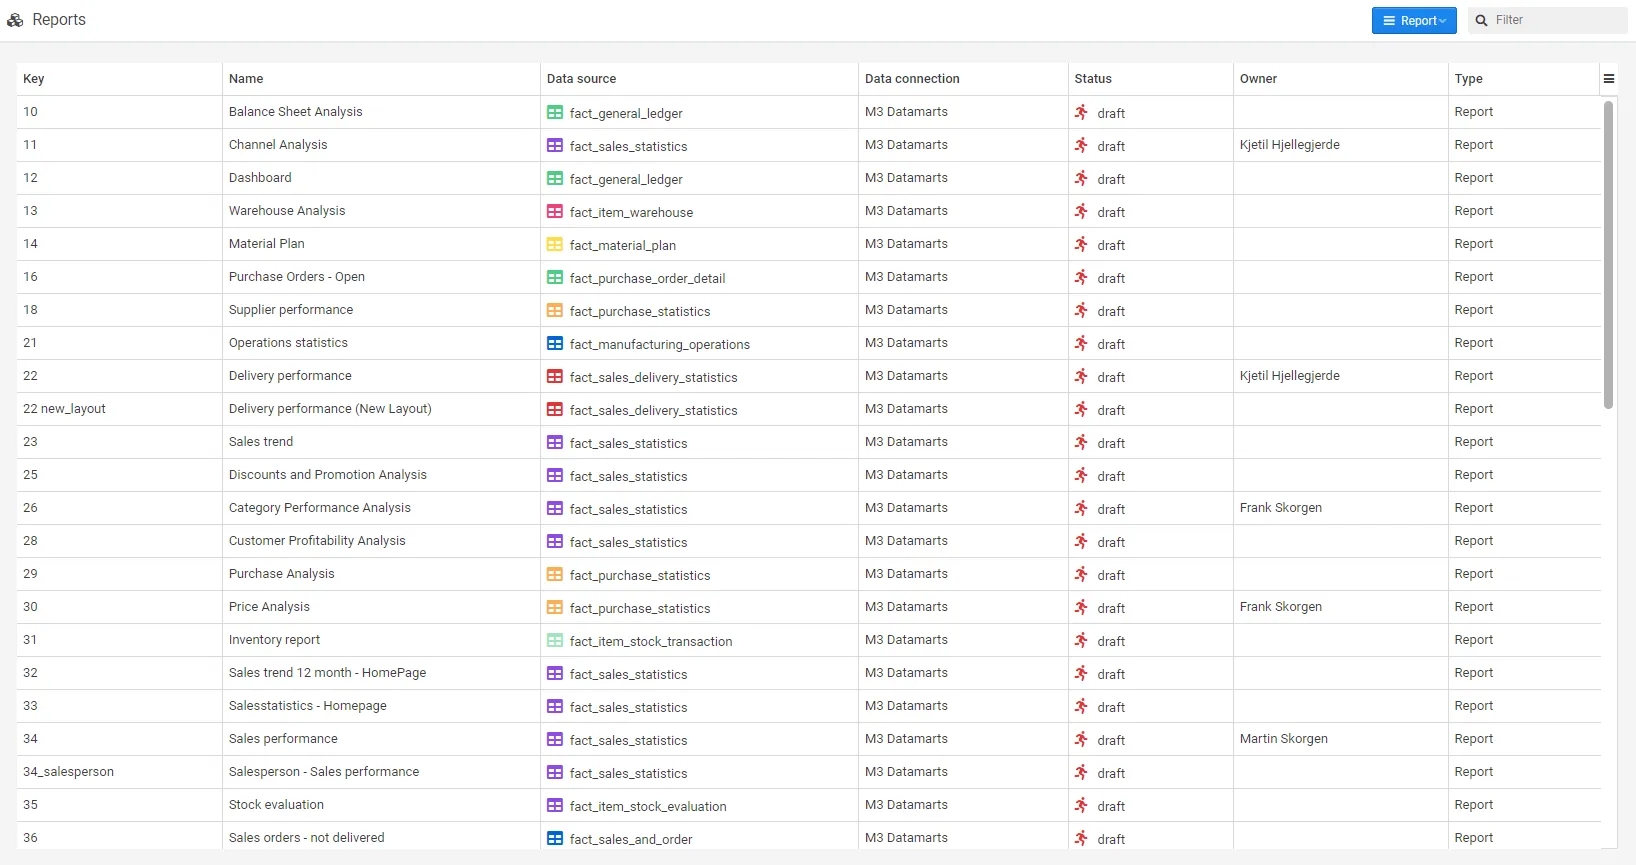
Report preview
Section titled “Report preview”To preview a report, first select a report in the “browse all reports-window” and press the preview button.

Find report menu
Section titled “Find report menu”To find out which menu folder a report is associated to, first select and go to the tab menu. The report in the example is located on in the menu folder finance.
