System administration
Articles
Section titled “Articles”Main menu for all news articles. Here you can add new articles and maintain existing ones. Possible to add listviews.
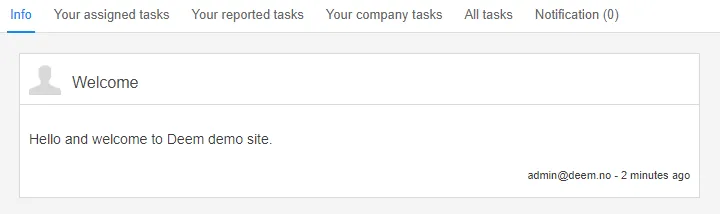
Published articles will appear on the home page, and will be visible for all users.
To create a new article go to the article menu under admin and then select new.

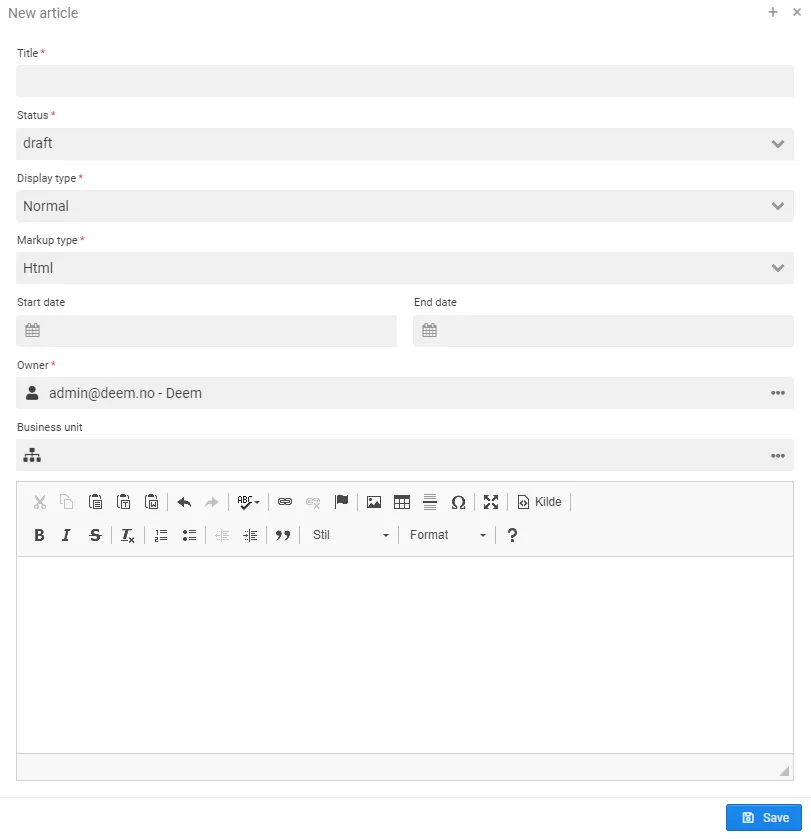
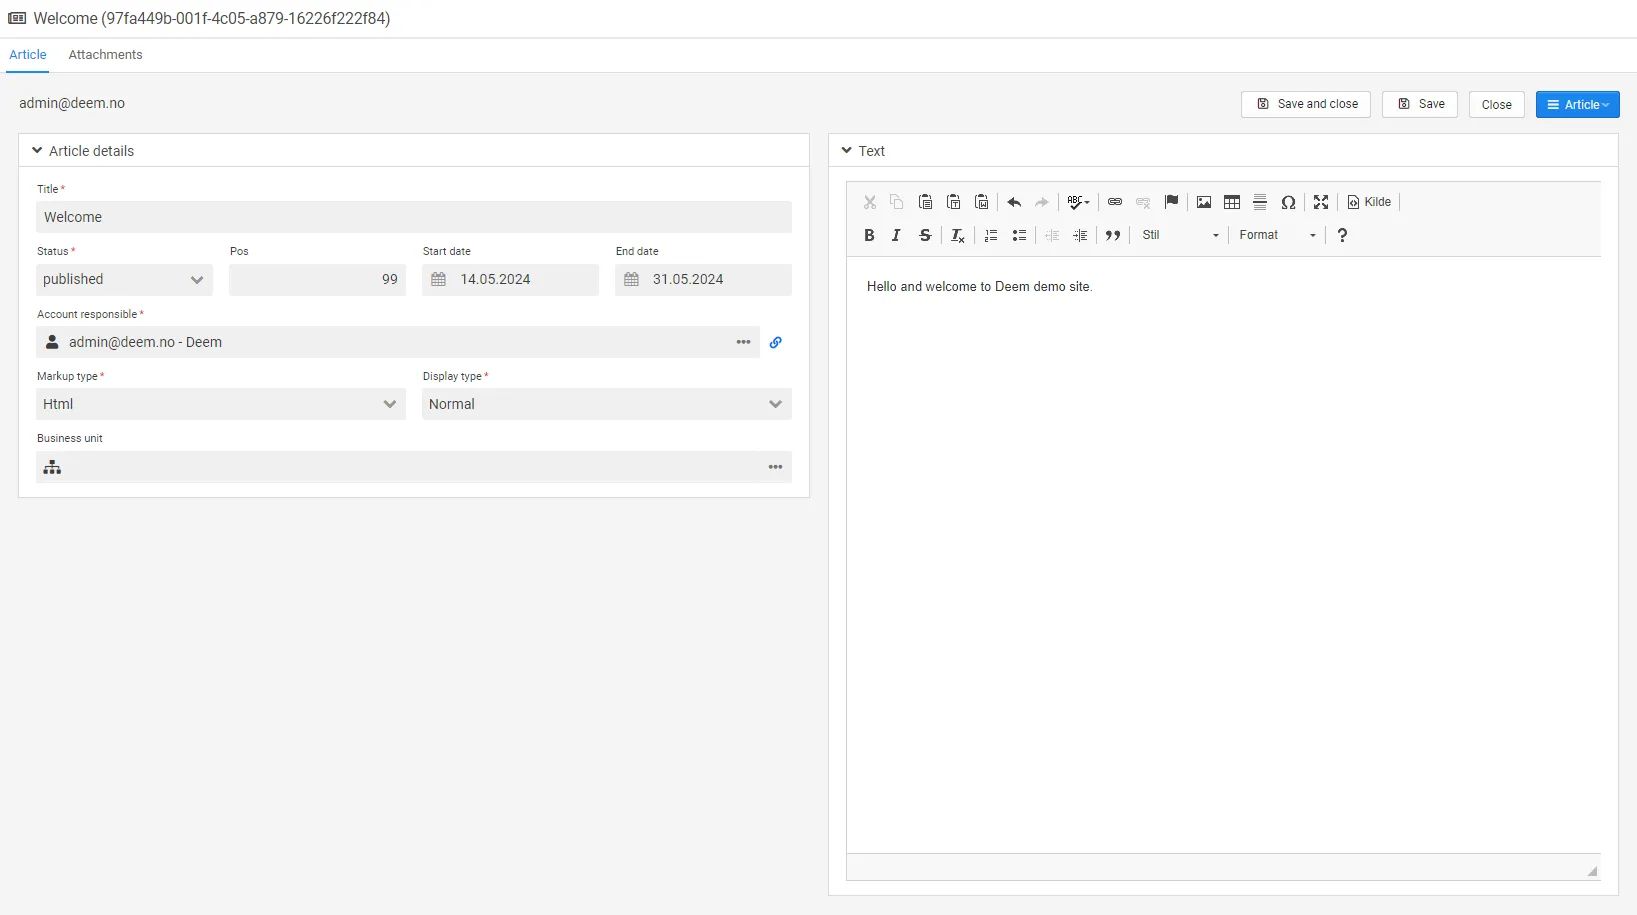
- Status: Draft is default, must be set to published to appear on the home page.
- Title: Title of the article (mandatory).
- Owner: Owner of the article (mandatory).
- Start date: From date the article will be visible on the home page (mandatory)
- End date: To date the article will be visible on the home page. If left blank the article will have no expiration date (optional).
- Business unit: This part of the documentation is under development.
- Text: The body of the article. There are some tools which can be used in the toolbar:
- Table: Possibility to add a table in the text.
- URL link: Possibility to add a url link in the text.
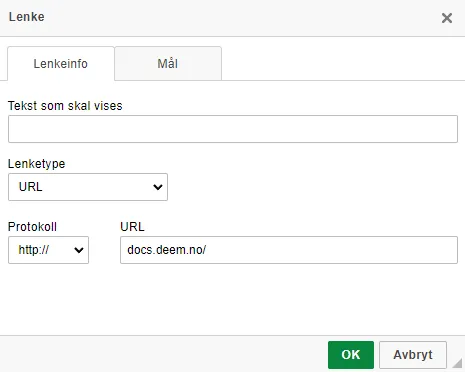
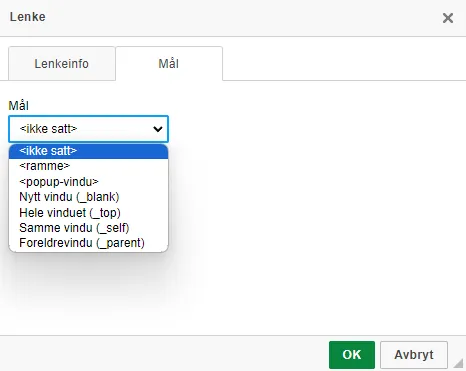
Default target for the link is in the same window. We recommend to use “New Window (_blank)”, as the link then will pop up in a new tab.
-
Picture: Possibility to add a picture in the text. The picture can be inserted by ctrl+v (some browsers do not support this) or by an URL. The picture can also be used as a link.
-
Attachments: In the tab attachments you can add attachments to the article. Please note that these attachments will not be visible for the end user on the home page.
Bookmarks
Section titled “Bookmarks”Overview of bookmarks for all users. Can be added to the main menu. Possible to add listviews.
To set up a shared bookmark, you need to go to the bookmark menu and edit the bookmark and then tick-off shared. A shared bookmark will be available for all users that have access to the original report.
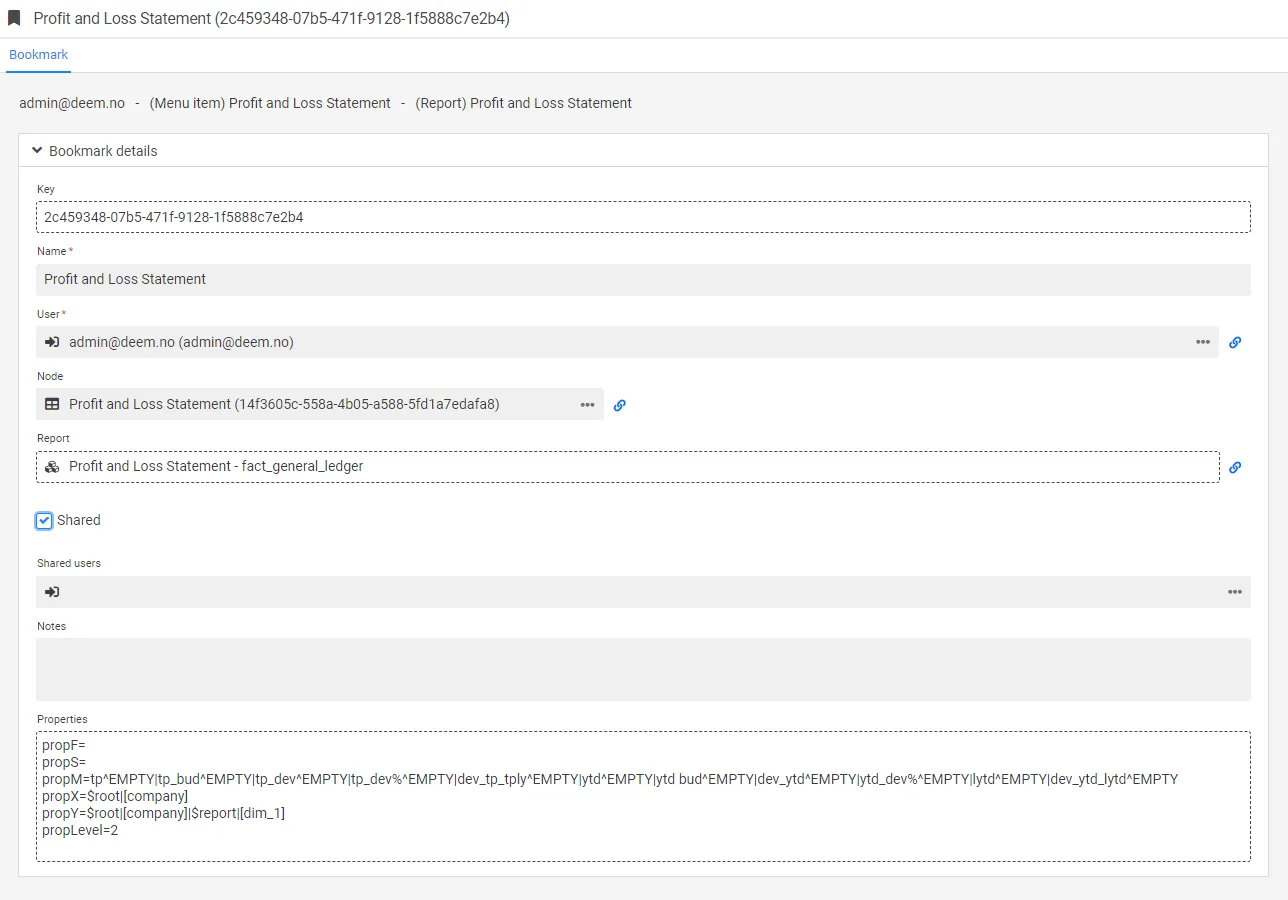
In the bookmark menu you will have an overview of both your own and all shared bookmarks.

The end users filter will be added to the bookmarked report. Shared bookmarks will not be shown on the home page, except for the owner of the bookmark. The shared bookmark will be found under shared bookmarks in the bookmark menu in the report.
Setting for the main menu, displayed on the left side in Deem Insight.
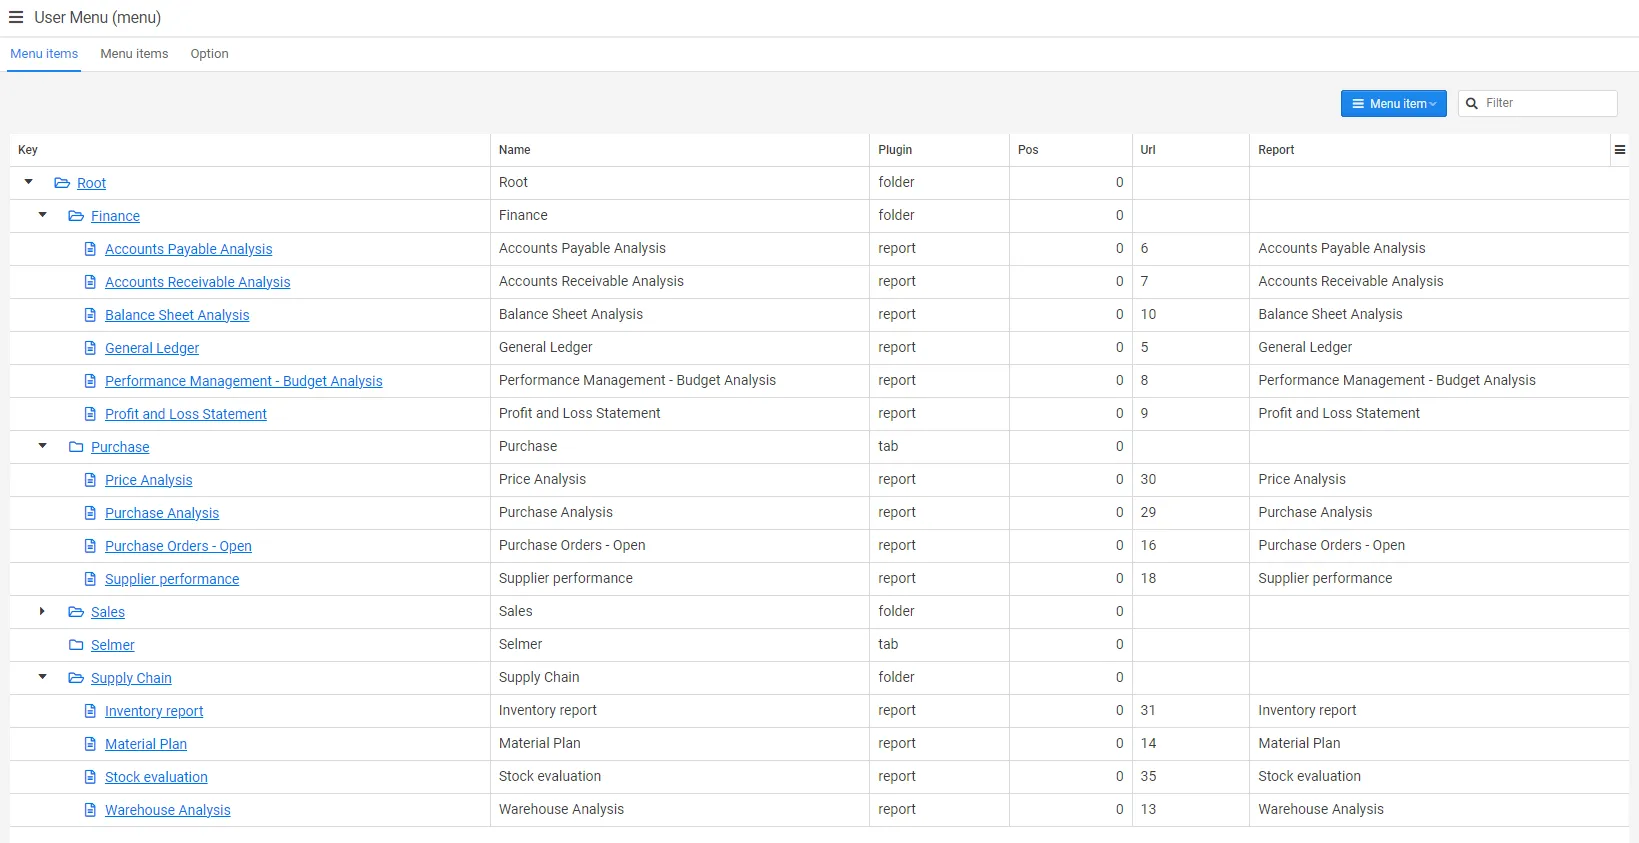
As shown in the above screenshot, it is recommended to add the menu to the main menu.
Please click on the key menu to access the menu settings.

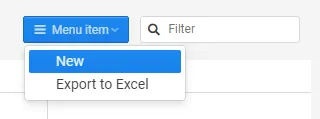
In the menu tree tab number one the menu is collapsed, and you therefore need to click on the arrow in front of Root to see the structure (reports which have been put into folders will not be visible until you expand the folder). Root is the top level of the menu. To add a new menu node mark the parent element and press new in the drop-down list in the top right corner:
It is possible to configure access to the menu points, but we do not recommend to restrict access to report folders.
Configurations
Section titled “Configurations”The configuration of mail settings, which must be set up on the server, is displayed here, and it is also possible to test it:
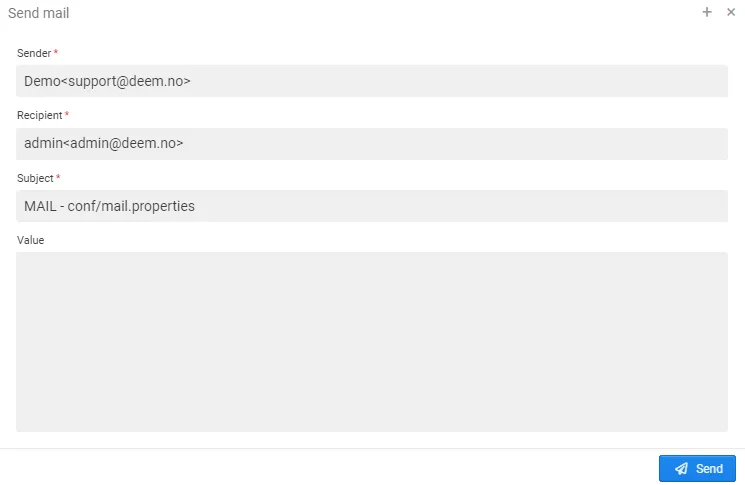
Please contact your consultant for support to set it up.
Connections
Section titled “Connections”Please see data connections in the report administration chapter.
Data sources
Section titled “Data sources”Please see data sources in the report administration chapter.
Emails
Section titled “Emails”Overview of all sent system emails and service status (sent, error).
Please see admin/configurations for information on how to set up the mail settings.
Languages
Section titled “Languages”Overview of available languages. Can be customized.
Languages are in use in most parts of Deem Insight.
For use in measures, dimensions etc.
Section titled “For use in measures, dimensions etc.”There is no automatic translation. But you can use the “translate” button to get a suggestion in many languages. Please note that Deem Insight will base the translation on the text written in the english language. Also, the translation must be done for each data source.

System translations (fields and headlines)
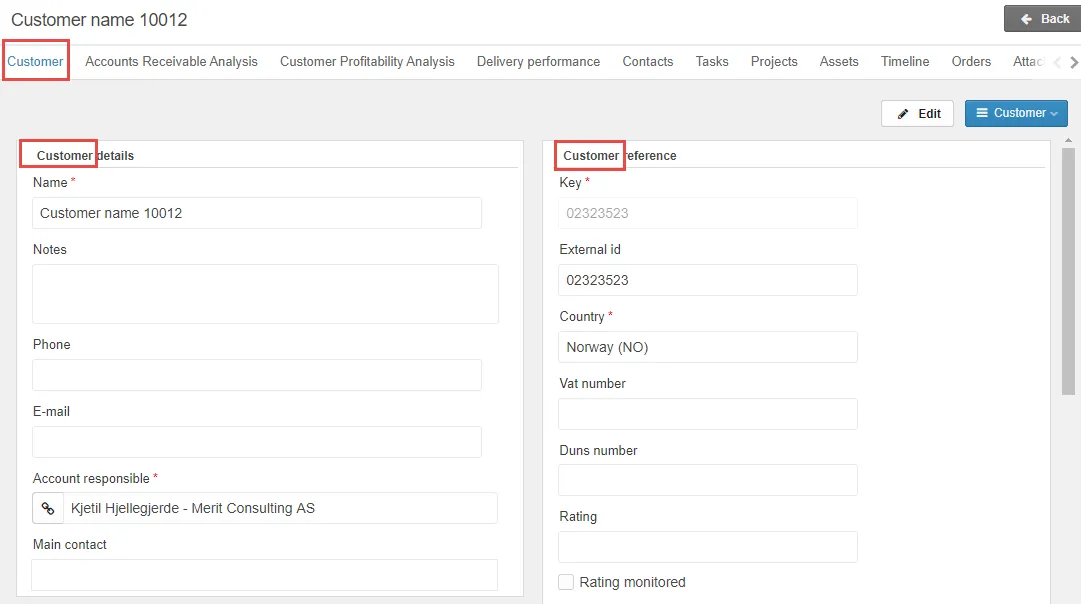
Section titled “System translations (fields and headlines)”Tenant translations will change the name of every appearance of the word in the system. Please note this translation will not affect reports etc.
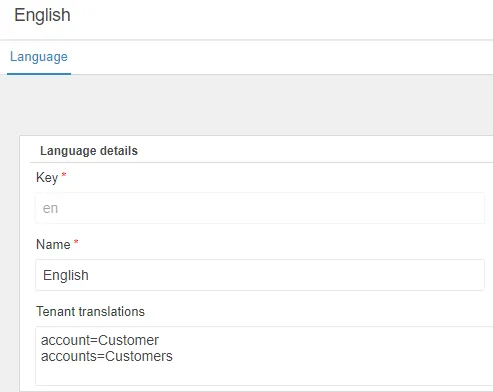
Please see below picture for an example of how the tenant translation will appear in the account card.
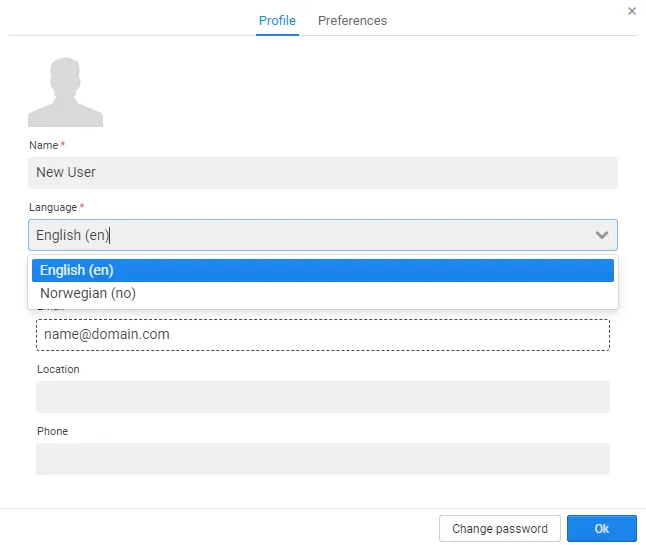
User language
Section titled “User language”Deem Insight supports several languages, and the end user can select the relevant language in edit profile. This will influence all system names and fields in addition to translations in reports etc. where translations have been set up.

List views
Section titled “List views”List views makes it possible to set up standardized lists of different system parts in Deem Insight. This to get an easier overview of what needs your attention, such as filter on your open actions, your bookmarks etc. Is often used in combination with e.g. bookmarks used in the main menu.

Configuration of list views can be done under list views in the admin menu.
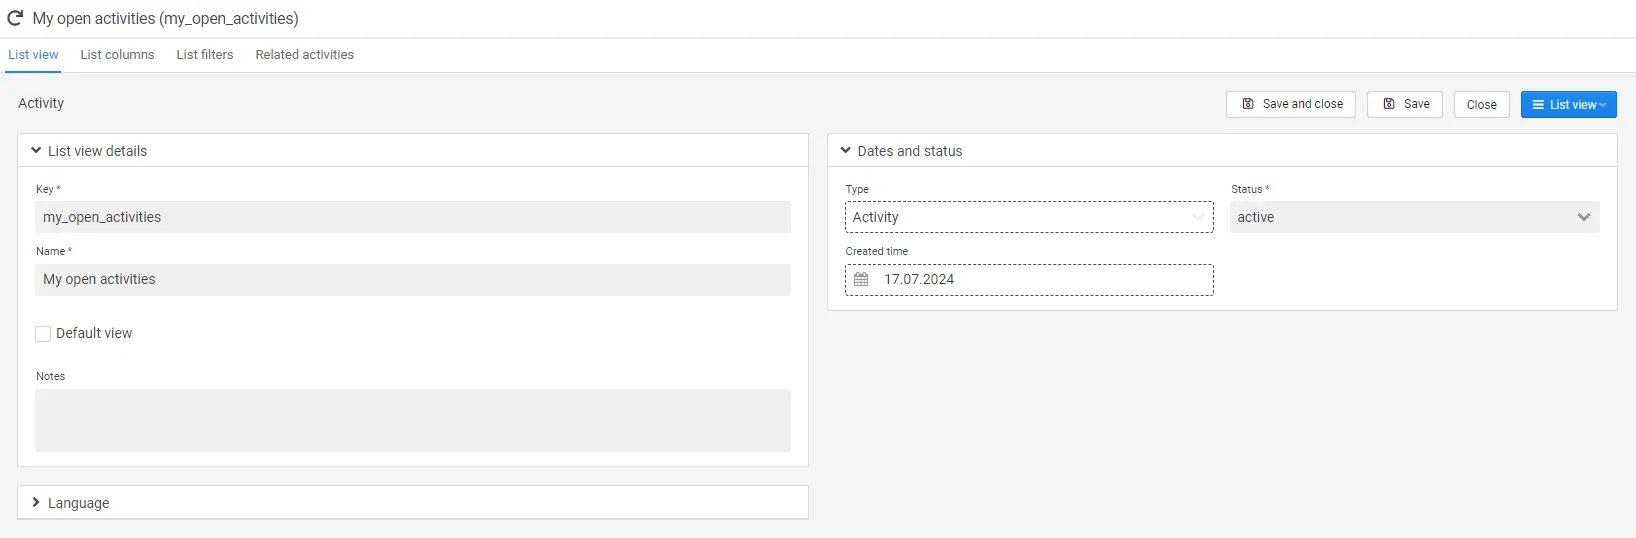
| Field | Description |
|---|---|
| Key | Unique id (mandatory). |
| Name | There is no need for a unique name (mandatory). |
| Type | Type are custom, and can be set up in record types (mandatory). |
| Default view | When ticked off this view will be set as default in the list. |
| Status | Statuses are custom, and can be set up in statuses (mandatory). |
| Owner | Owner can be set up, drop down list (optional). |
| Pos | Position is used to sort the list of lists (mandatory). |
| Limit | Can limit how many lines that is included in the list, 0 will show all lines(optional). |
| Order by | Order the list by field, if blank the list is sorted by created date descending. Example: status.category asc, name desc. |
| Filter | Filter the list according to the filter set. Example: status.category between 1 and 3 and deleted = false. |
| Script | Currently not in use. |
| Notes | Free text field (optional). |
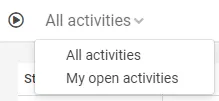
When list views is set up, the drop-down list as shown below will appear:
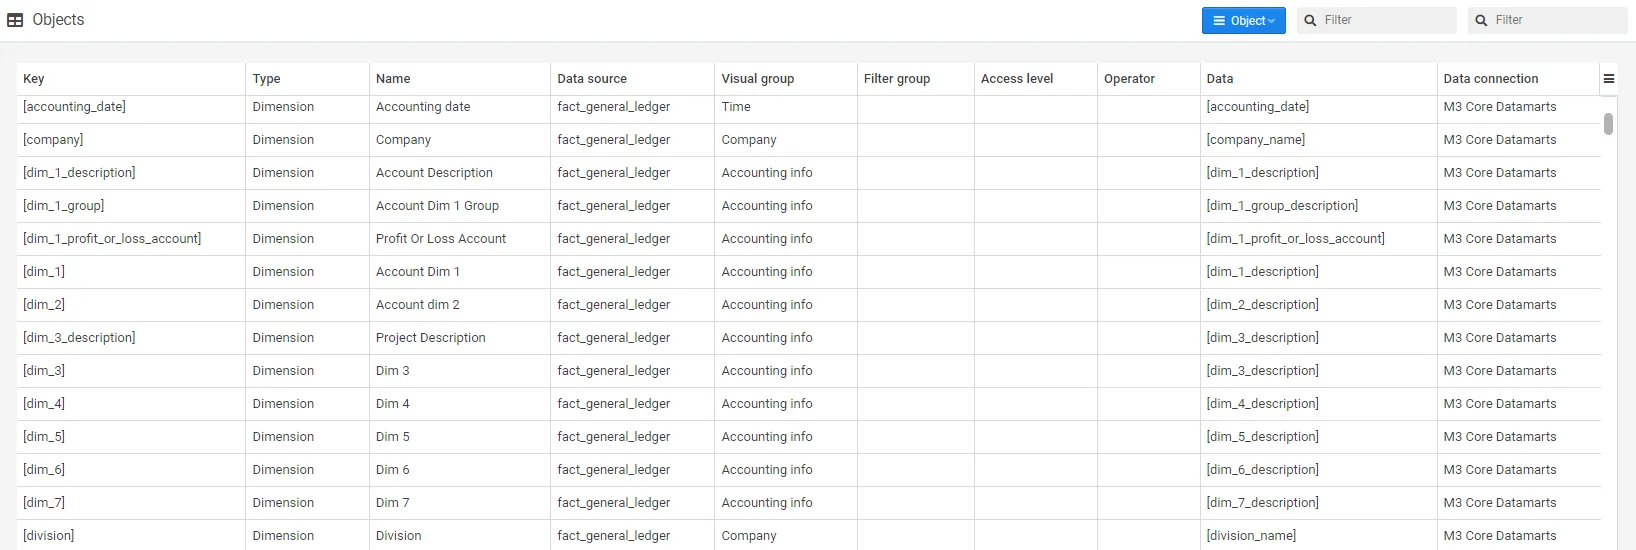
Objects
Section titled “Objects”Overview of all datasource objects (measures, dimensions, visual groups, filter groups). Automatically updated when new datasource objects are created. Link to the relevant object/report/datasource is available when the objects are opened.
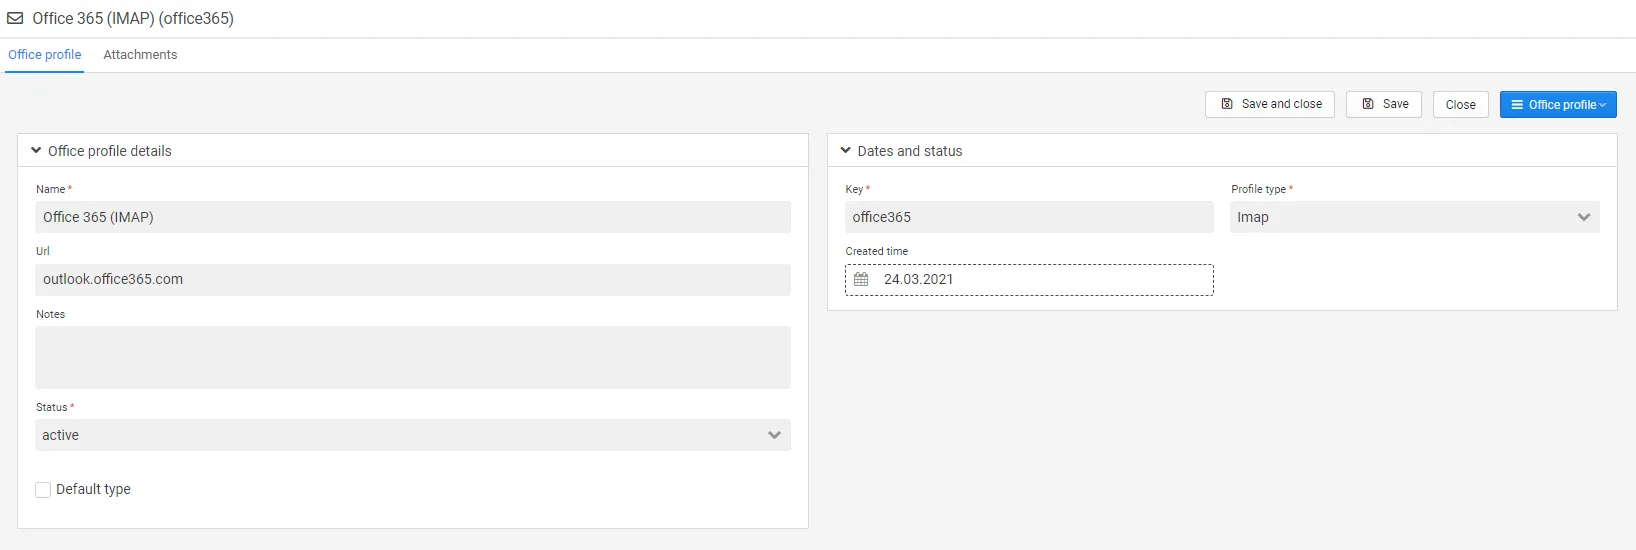
Office profiles
Section titled “Office profiles”This part of the user guide is under construction.
Configuration of email to be set up for the logged-in user (connects private inbox to Deem Insight).
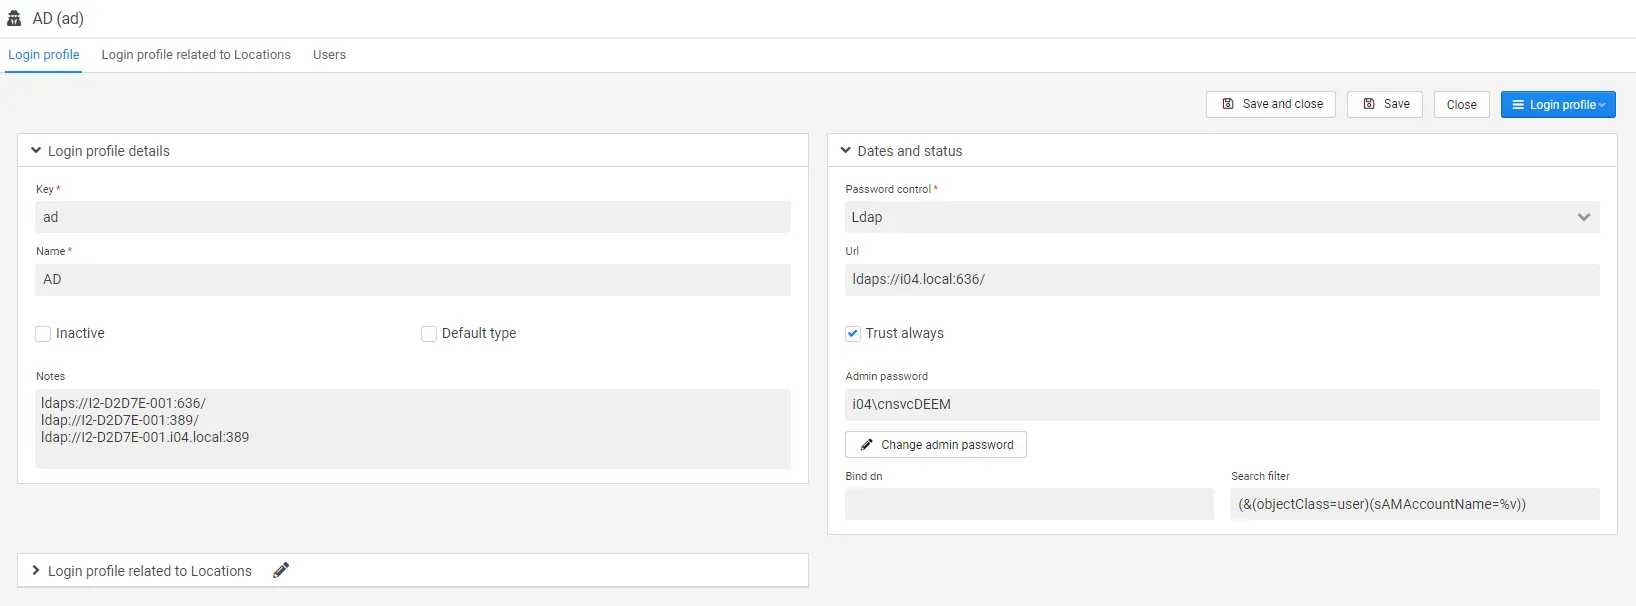
Login profiles
Section titled “Login profiles”In this view you can set up login profiles used as authentication for the user.
Configuration of login profiles for users.
Report objects
Section titled “Report objects”Overview of all report objects (row, column, measure, page filter, filter). Automatically updated when new report objects are created. Link to the relevant object/report/datasource is available when the objects are opened.

Reports
Section titled “Reports”Overview of all reports with data sources and statuses etc. Possible to create a new report and edit reports. You can also import a file in XML format. Please contact your consultant for further information regarding import of reports.
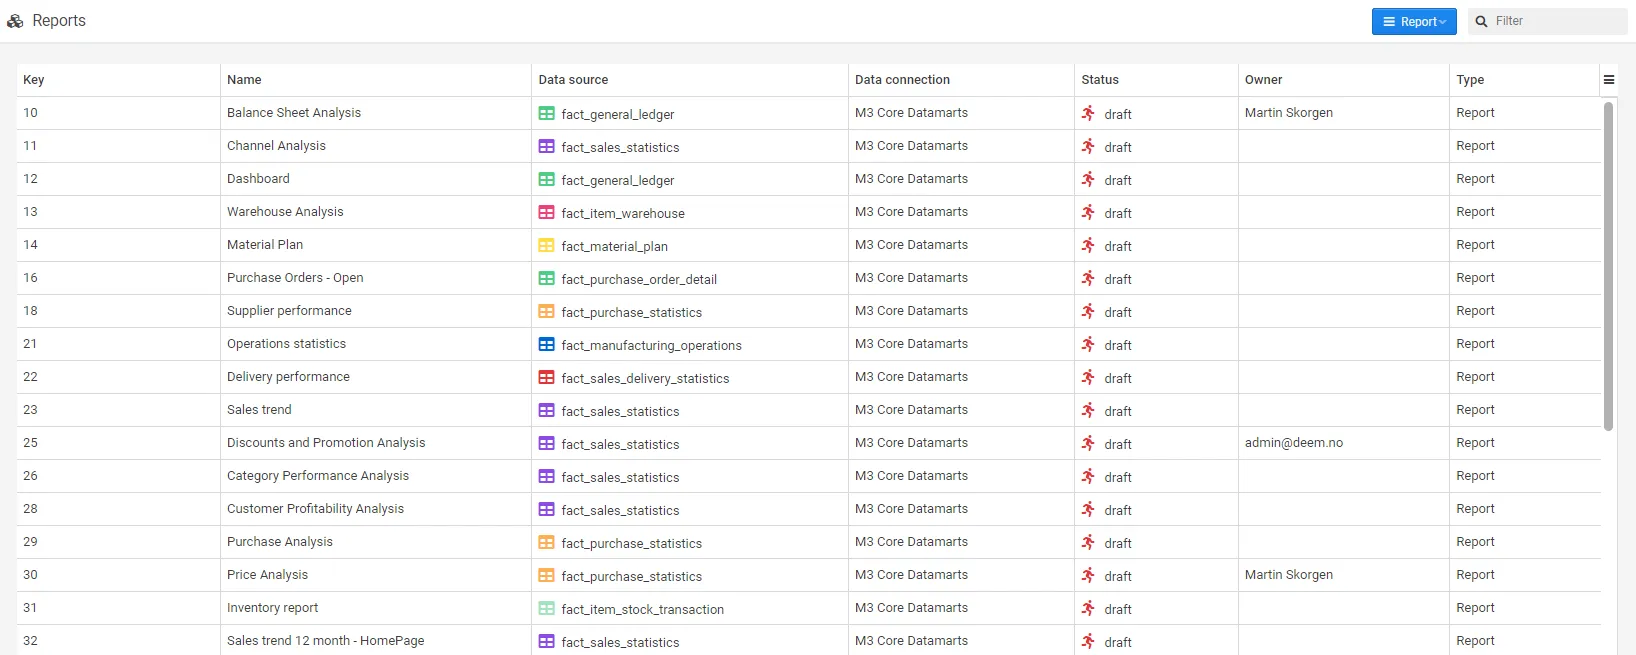
Please see the report administration chapter for more information.
Overview and configuration of all roles.
Please see the user administration chapter for more information.
Allows you to connect and access your email inbox directly from Deem Insight. When an email is opened, you can create a new contact of the sender, create a new task with the email content, or download the email directly to your device.
![]()
Monitor
Section titled “Monitor”Overview of all logged-in users can be found in the sessions tab.

An overview of events with a possibility to look into slow SQL’s,current SQL’s, slow events and current events.
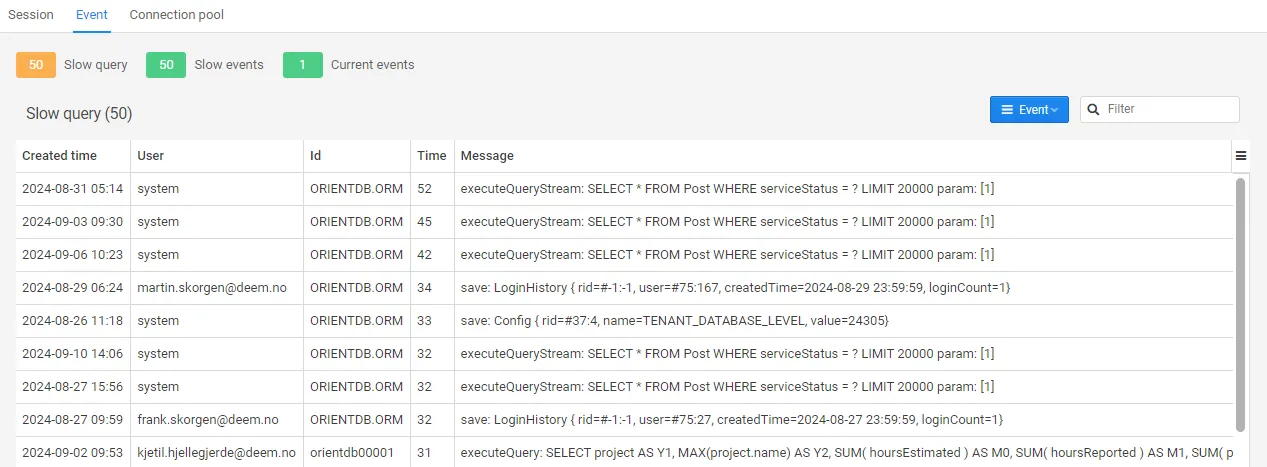
The tab for connection pool gives an overview of active connections.
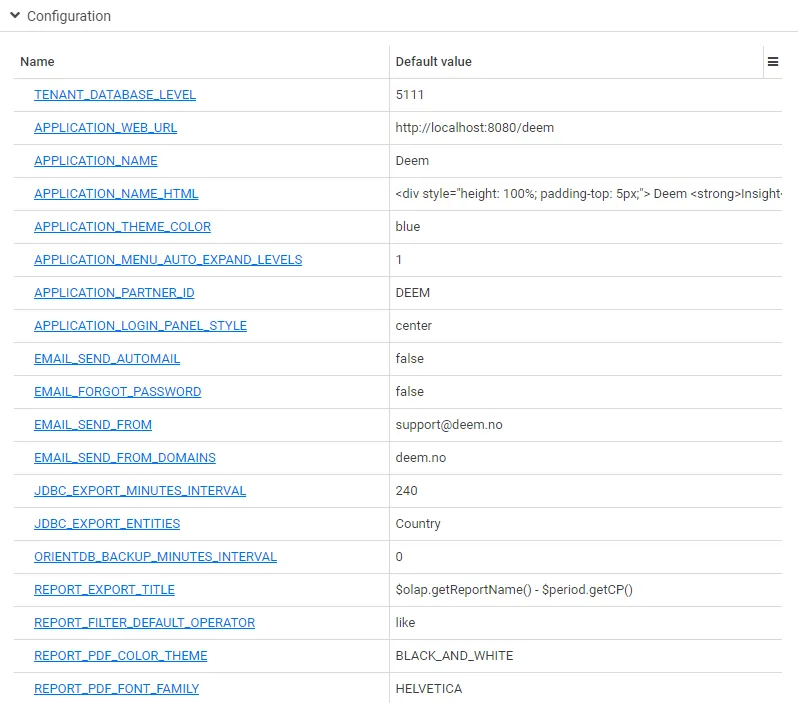
Tenants
Section titled “Tenants”Configurations of some system parameters can be found here. Please contact your consultant for more information.
Job entries
Section titled “Job entries”Configuration of jobs for the job monitor. Dependent of jobs being set up on the server.
Please contact your consultant for more information.
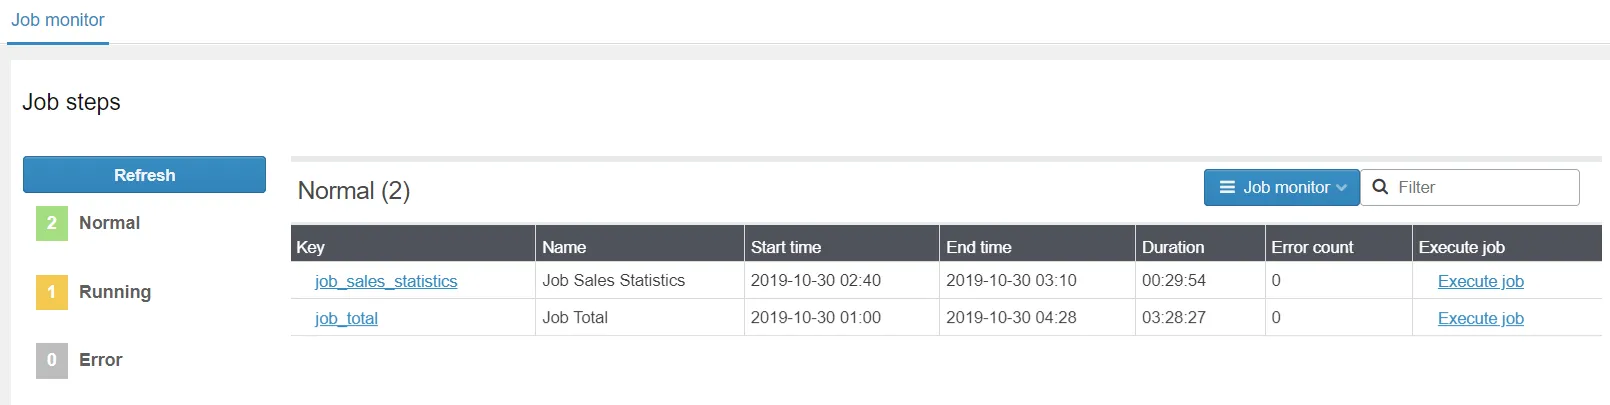
Job monitor
Section titled “Job monitor”Overview of all available jobs in the job monitor. Possible to run jobs manually. Dependent of job entries being set up.
Overview and configuration of all users. Users must exist as a contact before creating a user.
Please see the user administration chapter for more information.